Bacon, Onion, Mushroom Burger

image

Ingredients:
Ground beef
Onion
Bacon
Onion soup
Lettuce
Mushroom
Chicken broth
Cheese
Buns

image

Cook the bacon on the stove. Make it good and crispy!

image

When your bacon is finished it needs to be crumbled. The way I do this is I put the bacon in aluminum foil. Then I ball up the foil. When you open the foil back up, the bacon is in perfect little bits.

image

Next boil your onion soup. Make sure you stir so the mix doesn’t stick to the bottom of the pan.

image

Put your ground beef, bacon, mushroom (strained), and onion soup in a bowl

image

image

Mix the ingredients…but be careful it’s hot

image

Put the mix in the freezer for about an hour.

image
I used a griddle to cook the burgers

image
I put my boyfriend’s burger on a bun…but I wrapped mine in lettuce and added a little dijon mustard and ketchup.

image
Yuuuum!!!
Happy cooking…and eating

image

Loaded Potato & Buffalo Chicken Casserole

IMG_3677e

Ingredients

  • 2 lbs boneless, skinless chicken breasts, cut into 1/2-inch cubes
  • 8-10 medium potatoes, cut into 1/2-inch cubes  (I leave the skin on)
  • 1/3 cup olive oil
  • 1 1/2 tsp. salt
  • 1 TBS. freshly ground pepper
  • 1 TBS. paprika
  • 2 TBS. garlic powder
  • 6 TBS. hot sauce

Topping:

IMG_3642e

Preheat oven to 500 degrees…Yes you read that right!

In a large bowl mix together the olive oil, hot sauce, salt, pepper, garlic powder & paprika.


IMG_3644e

Add the potatoes and stir to coat.


IMG_3649e

Add the potatoes to a greased baking dish.


 IMG_3646e

When scooping the potatoes into the baking dish, leave behind any extra olive oil/hot sauce mix.


IMG_3650e

Add the diced chicken to the “left behind” olive oil/hot sauce mix and stir to coat all the chicken.  Allow to marinate as the potatoes bake.


IMG_3654e

Roast the potatoes for 45-50 minutes, stirring every 10-15 minutes, until cooked through and nice and crispy on the outside.


IMG_3656e

Once the potatoes are fully cooked add the marinated chicken.


IMG_3657e

In a large bowl mix all the topping ingredients together.


IMG_3661e

Top the raw chicken with the topping.


IMG_3667e

Bake until the chicken is cooked through and the topping is melted and bubbly delicious.  Serve with extra hot sauce and/or ranch dressing.

IMG_3672e

wpid-signature.png

19 Dips You’ve Gotta Try!

Dips can make or break a party! It’s summer time so you can have anything from a get together at your house to a party for the playoffs. Either way a dip is usually a chip, easy, and delicious placeholder. The links to the dips are under the pictures. Give them a try!!

wpid-signature.png
Visit http://www.closetcooking.com for more things like this!!

Smokey Mesquite BBQ Sliders

Smokey Mesquite BBQ Cheddar & Grilled Onion Sliders


Ingredients

  • 1 pound ground beef
  • 1 Kraft Fresh Take Smokey Mesquite BBQ variety package
  • 1 egg
  • ⅓ pound bacon, chopped
  • 1 medium onion, chopped
  • ¼ cup Kraft Hickory BBQ sauce
  • 3 slices Kraft Big Slice cheddar cheese
  • 12 Hawaiian Rolls

Kraft Fresh Take Smokey Mesquite BBQ Recipe Ingredients

Inside the Kraft Fresh take bag you’ll find a blend of cheese, seasoned breadcrumbs and spices to make a flavorful meatball. You can toss all of the ingredients inside the convenient bag. I just added the meat and used my hands to combine all of the ingredients until they’re evenly distributed throughout the ground beef.

Kraft Fresh Take Smokey Mesquite BBQ bag mix

One pound of ground beef along with the Kraft Fresh Take makes a perfect dozen meatballs. I just rolled them by hand to about 1-1/2 to 2 inches in diameter. Try to make them all the same size

Next the meatballs get spaced out and lined up on a baking sheet (with a lip). Since there is cheese in the meatball you’ll want to make sure to bake them on parchment or Silpat (my preference) lined sheet. Thirty minutes in the oven @ 375  is all it takes to have them ready!

Smokey Mesquite Meatballs

Once the meatballs are out of the oven you can set them up on the rolls and brush some of the bbq sauce over each one.

Smokey Mesquite BBQ Meatball Sliders

Add some sharp cheddar to the top for some extra flavor.

Smokey Mesquite BBQ Sliders topped with cheddar cheese

Fried bacon bits give these sliders the perfect crunch.

Smokey Mesquite BBQ Sliders topped with Bacon

And for some added sweetness, chunky grilled onions put these sliders over the top.

Smokey Mesquite BBQ Sliders Topped with Grilled Onions

Just a few minutes under the broiler and you’ve got gooey melty cheese, toasted buns and a dozen sliders ready to serve as an appetizer or lunch for a small crowd.

Dozen Smokey Mesquite BBQ Meatball Sliders

Depending on your appetite one slider is a great start, but two will really fill you up.

Smoky Mesquite BBQ Cheddar Onion Sliders

Check out: http://www.foodfamilyfinds.com

wpid-signature.png

Bacon and Bleu Cheeseburger Potato Skins

If anyone wants to make me these in, let’s say about a month…FEEL FREE! #Yummy


Cheeseburger


Ingredients

  1. 4 whole Russet Potatoes, Cleaned
  2. 6 slices Nueske’s (or Your Favorite) Bacon
  3. 3 Tablespoons Unsalted Butter, melted
  4. 1 teaspoon Salt To Taste
  5. 1 teaspoon Cracked Black Pepper, To Taste
  6. ¼ pounds Ground Beef, Browned
  7. ½ cups Great Blue Cheese, I Used Hook’s Blue Paradise

Instructions

  1. Begin by preheating your oven to 400 F. Poke the top of each potato with a fork and place on a baking sheet. Cook in the oven for 1 hour. Once cooked, remove potatoes from the baking sheet and place them on a plate to cool for about 15 minutes.
  2. Cook your bacon in a skillet on low heat for about 15-20 minutes. The low and slow process, in my opinion, is the only way to cook bacon as it really yields perfect bacon every time. Remove the bacon from the skillet and drain it on some paper towels before you crumble it.
  3. Once your potatoes are cooled, use a sharp bread knife and cut them lengthwise. For each potato you’ll have three long segments—two nice rounded sections, one from each side for the skins and one thin cutout from the center. Place the middle slice in a bowl for later use, such as breakfast the following morning. Or heck for that matter, add some butter, salt, and cream, and make some rustic mashed potatoes.
  4. Continue this cutting process with the rest of the potatoes. You should then have 8 skins. With a small spoon, carefully scoop out about 70 percent of the potato. You still want some potato near the skin, to hold the structure of your boat.
  5. Next, melt your butter in the microwave. Get your broiler heated to high. Brush the butter on the inside and outside of each potato skin and place them back onto the baking sheet. Season the inside of each skin with salt and pepper.
  6. Place them under the broiler for 8-10 minutes until the insides get a bit crispy from the melted butter. Pull them out of the oven and place generous amounts of the cooked ground beef into each skin, topping with bacon pieces and about one tablespoon of blue cheese for each skin. Place these back under the broiler for about 3-4 minutes until the cheese is nice and bubbly. Carefully remove from the oven, top with just a bit more blue cheese, and get ready for a flavor of explosion.
  7. Serve on a platter and have your guests dig in. The subtle crisp from the exterior of the potato skin, with the tenderness of the potato on the inside will satisfy your french fry craving. Then your burger fix comes in with just the right balance of bacon and sharp creaminess from the blue cheese. Small in size and packed with flavor, these skins definitely satisfied my craving for a burger. If you are a fan of blue cheese on your burger, definitely make these. You will be happy you did!

wpid-signature.png


Thanks SweetToothLove.com


Bacon, Egg, & Cheese Breakfast Goodness

Bacon, Egg, & Cheese Breakfast Goodness

 BREAKFAST1


Looks delicious right?? I know I know LOL It’s really simple too!

Ingredients:

1 can crescent roll dough, 8 count
5 eggs
1 cup of shredded Colby and monterey jack cheese
8 slices of fully cooked bacon
Step 1: Preheat oven to 375 F degrees.  Scramble your eggs on stove top.  Lay out crescents on a parchment lined pizza pan or try foil on pan
BREAKFAST2
Step 2: Add your cooked bacon, either cook it yourself or buy the kind that’s already cooked
BREAKFAST3
Step 3: Add about 1/3 of your cheese.
BREAKFAST4
Step 4: Add your scrambled eggs and a third more of your cheese and fold crescents over.
BREAKFAST5
Step 5: Add  the rest of your cheese to the top and bake for about 15  minutes or until crescents are done
and golden brown.
BREAKFAST6
Step DONE!!!
Your finished product:
BREAKFAST1


Also try to slip some veggies in there like peppers or tomatoes!


Breakfast: Bacon and Egg Cups

Try these bacon and egg cups.  And they are easy to make paleo friendly!

What you need:

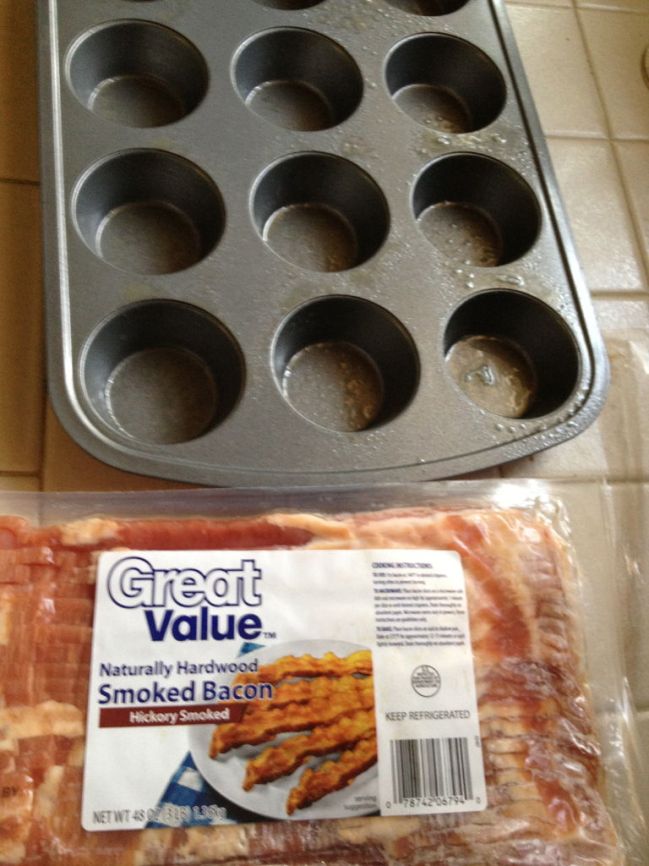
Muffin Pan
Pam or oil
Eggs
Bacon
shredded cheese
whatever else you like in your eggs
salt
pepper

Step 1: Spray muffin pan with Pam (or use oil or non stick pan)

Image


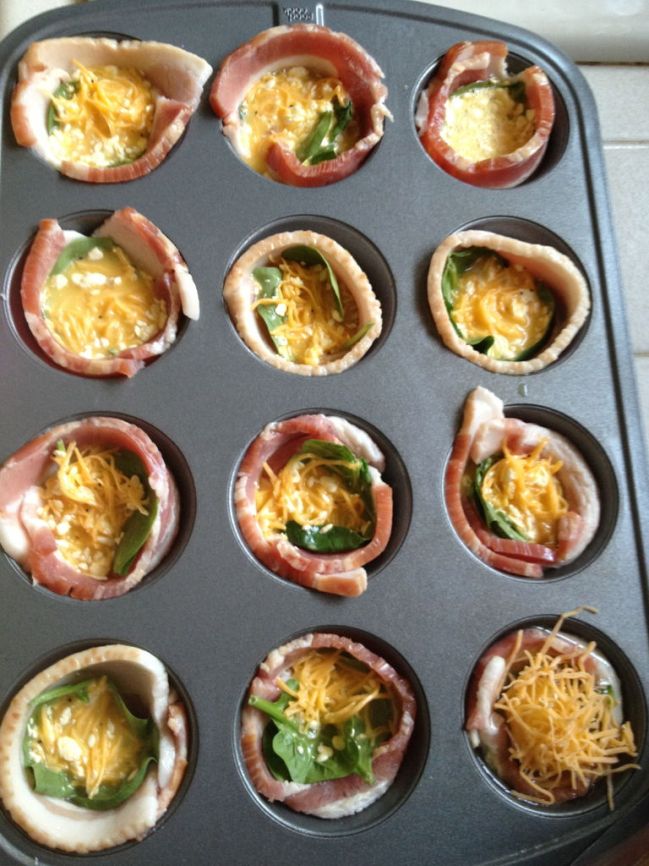
Step 2: Line muffin with bacon, then pour in egg and whatever else you like with your eggs (spinach, cheese, ham, etc)

Image     Image


Step 3: Bake at 350 for 45 minutes or until bacon is done! ( you might bake the bacon for 20 minutes alone first then out of the oven and add the rest of the ingredients if you like your bacon very crispy)

Image


Tell me how it goes!!!


http://thisfoodequalslove.blogspot.com/2013/02/bacon-wrapped-egg-and-vegetable-cups.html

Quickie: Bacon and Spinach Omelette

Good Morning y’all. I’ve got a quickie for you this morning. Dieting sucks when you are always eating the same thing. So I have to mix it up pretty often. Anyways this is a bacon and spinach omelette I made for…brunch. It’.s pretty easy.

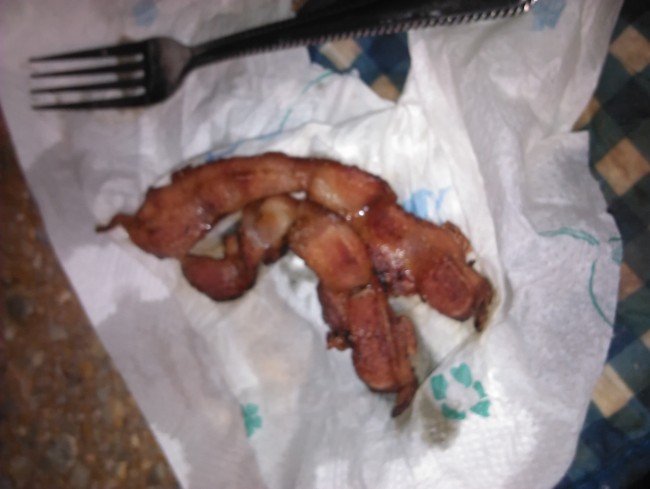
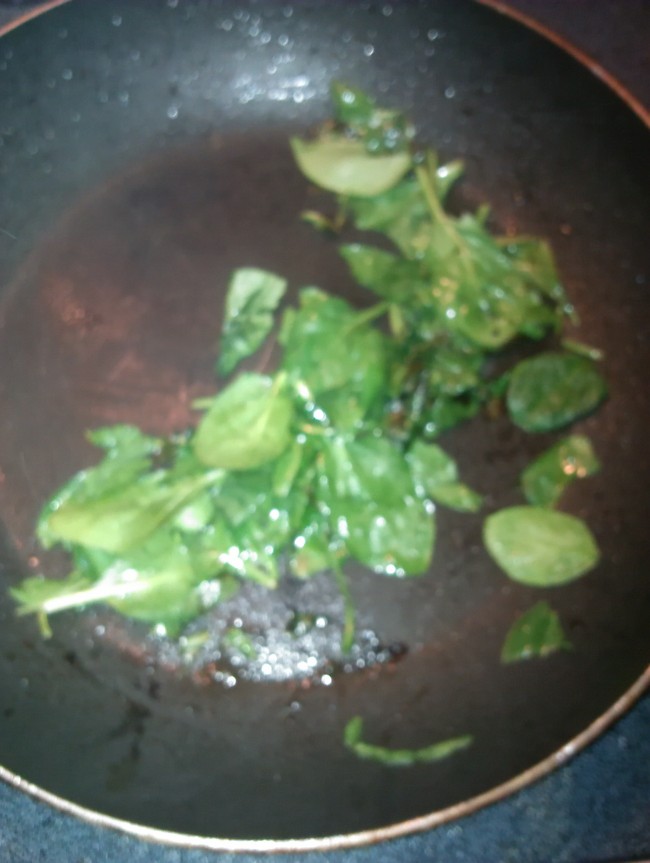
Step 1: Cook and cut up your ingredients. I kept it really simple this morning…bacon and spinach

ImageImage


Step 2: Spray your pan with Pam (or use a nonstick pan). Crack those eggs to make a circle base. Spread it out and try not to tear it. Then top should still be runny/ Add seasoning to taste and then top with you filling ingredients

Image


Step 4: While it starts cooking, kind of roll the edges to make sure they don’t stick. Now flip one side over onto the other and when it’s done cooking roll onto your plate. Done!!

Image